


Japan Castles On The Air (JACOTA)
Castle 7. Itokazu castle … A magloop antenna at an Okinawan castle
Hi, my name is Steve, JS6TMW. I was excited to learn about Japan Castles On The Air (JACOTA), from Greg, JO3SLK, and his articles in the FB News, and because of the recent interest here in outdoor radio activities like Summits On The Air (SOTA) and Parks On The Air (POTA). Greg asked me if I would like to introduce the readers of FB News to a castle in Okinawa. There are at least 14 well-preserved castle sites in Okinawa, most are only ruins, but important relics of the Ryukyu Kingdom.
I have enjoyed SOTA for several years, but most of the designated SOTA summits are in the north of Okinawa Island, and many are on remote islands, so I keep going back to one that is only 9 kms from my house, which happens to be at an ancient castle ruin called Itokazu jo. Here is my article about operating with my homebrew magloop antenna at Itokazu castle in Naha.
The castle was built in the Gusuku (castle in Okinawan) period of Ryukyuan history in Nanzan, the Southern Okinawan kingdom. It was the home of the Aji of Tamagusuku Magiri. After it was conquered in 1429 by Shō Hashi, Nanzan and the two other kingdoms of Chuzan and Hokuzan were unified as the Ryukyu Kingdom, which was independent until incorporation into Japan in the Meiji era.
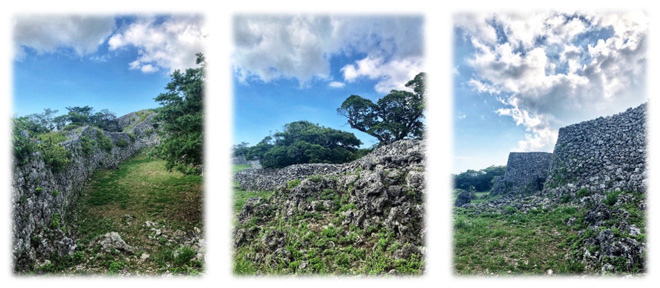
The stone walls, ishigaki, are different from the ones at castles in the main Japan islands. The ishgaki walls of Itokazu castle were made with Ryūkyūan limestone in the mid-14th century. The site now is just a castle ruin.
For portable operation I use 5-watt CW radios built from kits to cover my favorite bands (40, 20, 17, and 15 meters), and have experimented with several homebrew antennas. My best antenna is a tall parallel vertical for 20/17/15 with elevated radials, all supported by a camp chair (my infamous Chairtenna). With a tiny 40 meter trap and sloping wire, I can operate on all four bands without any switching or tuning. The downside is that it takes about 15 minutes to set up, which sometimes results in tangled wires, and weighs about 7 kgs. with the chair. But it is a real DX-killer, not to mention very comfortable to operate in.
Chairtenna with JH0WMN visiting after activating summits on outlying islands
Last spring, I found a great YouTube video by California amateur K6ARK. Adam is famous in the SOTA community for inventing clever new portable antennas for HF and VHF. He demonstrated a multiband Small Transmitting Loop (STL or magloop) antenna that folds up for easy packing, and he recorded a QSO on 40M CW into Japan using only 5 watts. I had built magloops before and never had much success, but a lightweight loop that could be used in the field was so intriguing that I began to think I could build one to meet my needs. For my loop, I also used separate sections of flat aluminum bar stock, (15mm x 2mm) but only four lengths of 1 meter in order to reduce the number of contact points. I also made larger contact areas where the sections overlap, grinding off the tough anodized finish of the DIY-store aluminum and smearing a tiny bit of conductive grease.
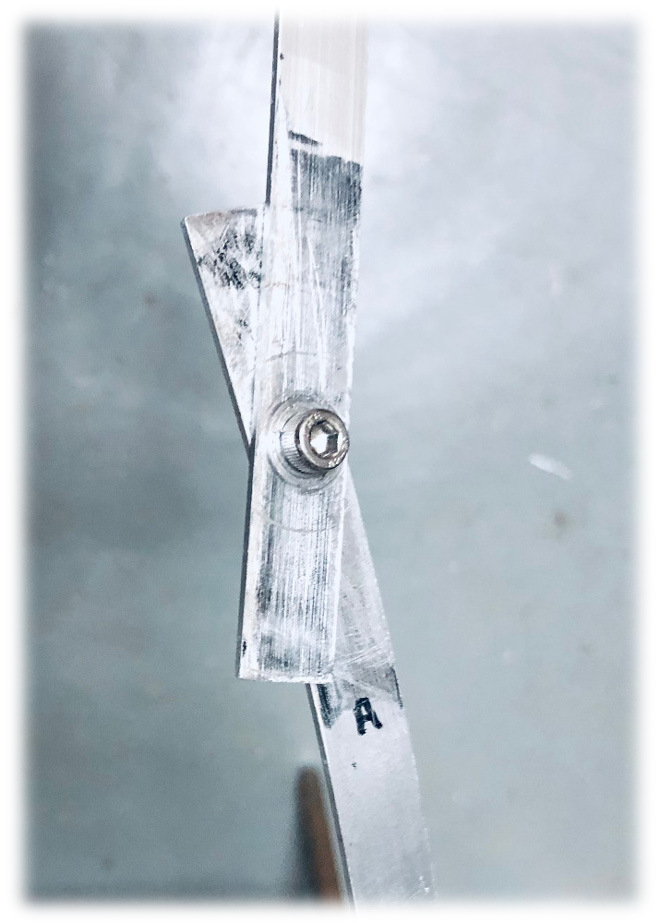
A joint connecting two of the antenna arms. The dark area is conductive grease.
After tightening the Nylok nuts I could not measure any resistance through the loop, but I could still easily fold the sections. When the joined sections are unfolded on the ground, I only tighten four wing nuts to assemble the whole antenna. I also made two additional sections so I can optionally enlarge the loop to 6 meters in circumference. This increases the (theoretical) efficiency on 40 meters from 13% to 34% with respect to a half wave dipole, resulting in around 4 dB higher signal strength.
To resonate the loop on all the bands, I used a small 50pF air variable capacitor from my junk box, with additional 50pF silver mica caps switched in parallel as needed. The range of 100pF-150pF tunes 40M, while 50pF-100pF works on 20, and 0-50pF just hits 17 and 15 meters. I used a toroid with several taps on its winding for the common secondary coupling loop. The tap is changed with an alligator clip soldered to the coax. I found the optimum number of turns for each band by trial-and-error.
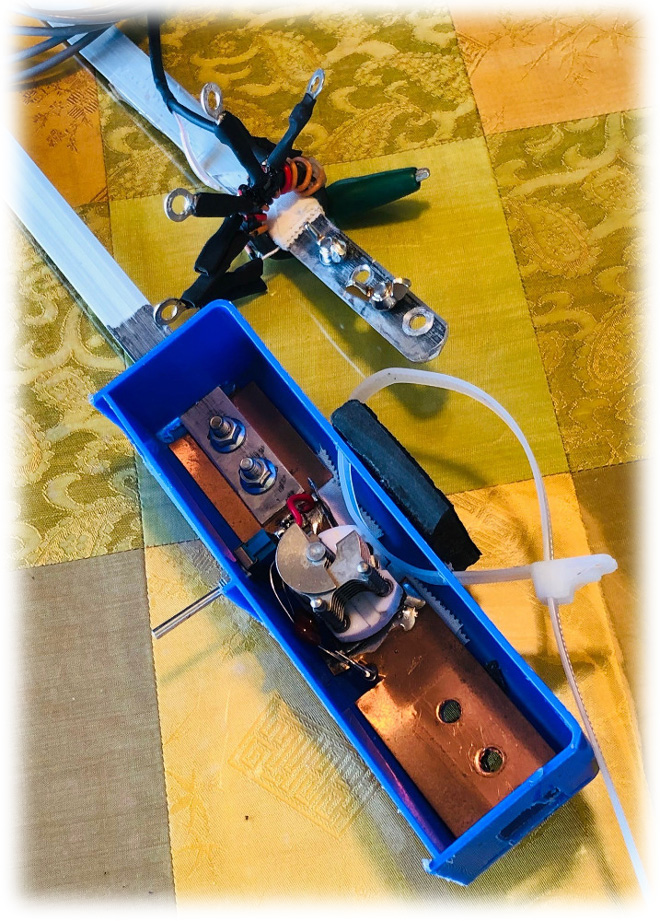
Tuning caps and toroids
The entire antenna, including the 4-meter telescoping pole, extra loop pieces, coax, and ground stake, weighs only 1.35 kgs.

L-R, extra 1-meter lengths, mounting stake, 4-meter fiberglass fishing pole, main 4-meter loop parts, tuning rod
If an STL is properly designed and constructed, it will have a very high Q and very narrow bandwidth, so it must be tuned accurately to get low SWR. I had to add a reduction drive to tune the capacitor easily. Initial tuning can be done by listening to signals or noise in the receiver, but an SWR indicator is needed to get a perfect match. Since neither of my QRP rigs have a built-in SWR meter, I adapted a cheap SWR bridge by adding LED voltage indicators for forward and reflected power. While not as precise as a normal SWR meter, these show the sharp SWR dip as the reflected power LEDs extinguish and also show that the rig is putting out full power.
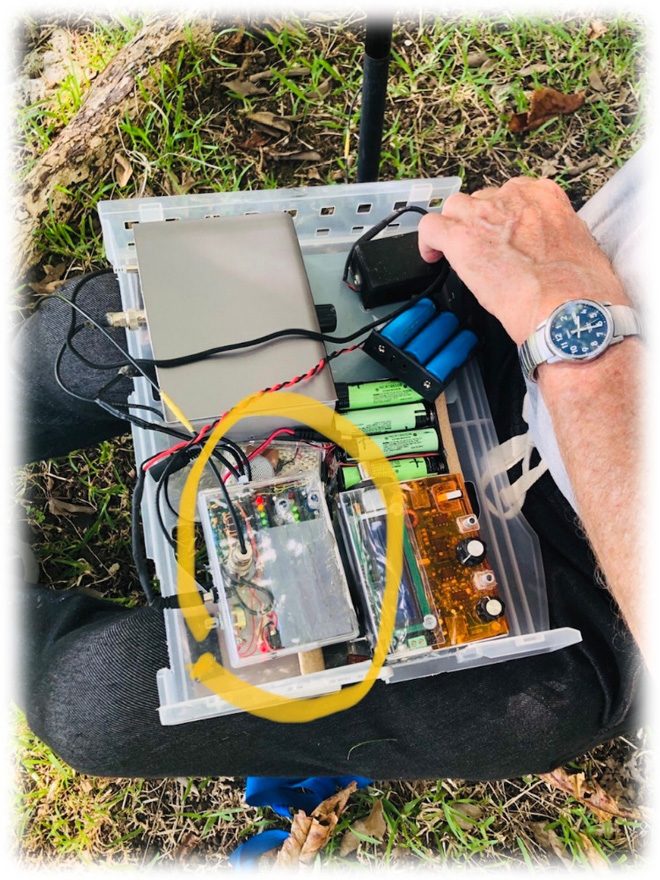
SWR bridge with LED indicators, and my 2 radios
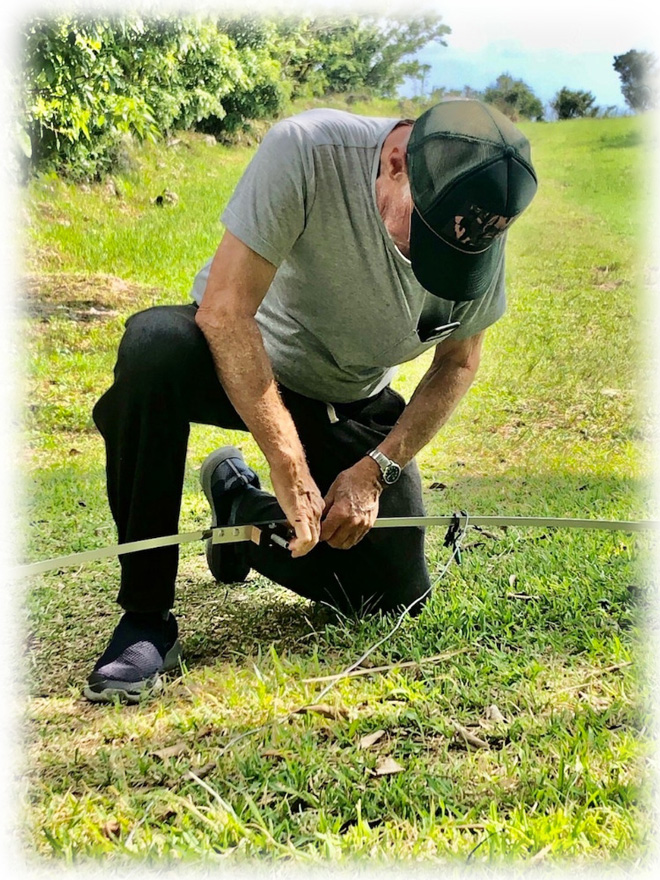
I actually finished this project in May of this year and tested it in my garden. I could hammer the mounting stake into the ground, stretch out the fishing pole, and assemble the loop in less than five minutes. Tuning took only a few more seconds, but I could not make many contacts using QRP because of the poor location. Then the weather turned hot and humid and stayed that way for months, and I did not have the energy to test it until this past Equinox weekend. (No mosquitoes!)
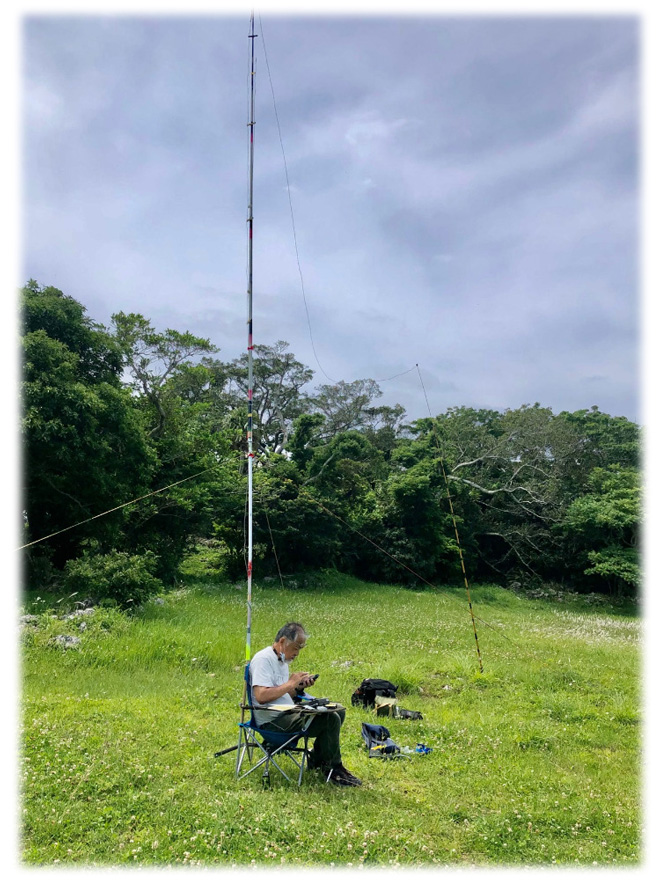
It was still hot and humid, but a big plus of this antenna is that it can be set up in places where my “Chairtenna” will not fit, in this case under some nice shade trees.
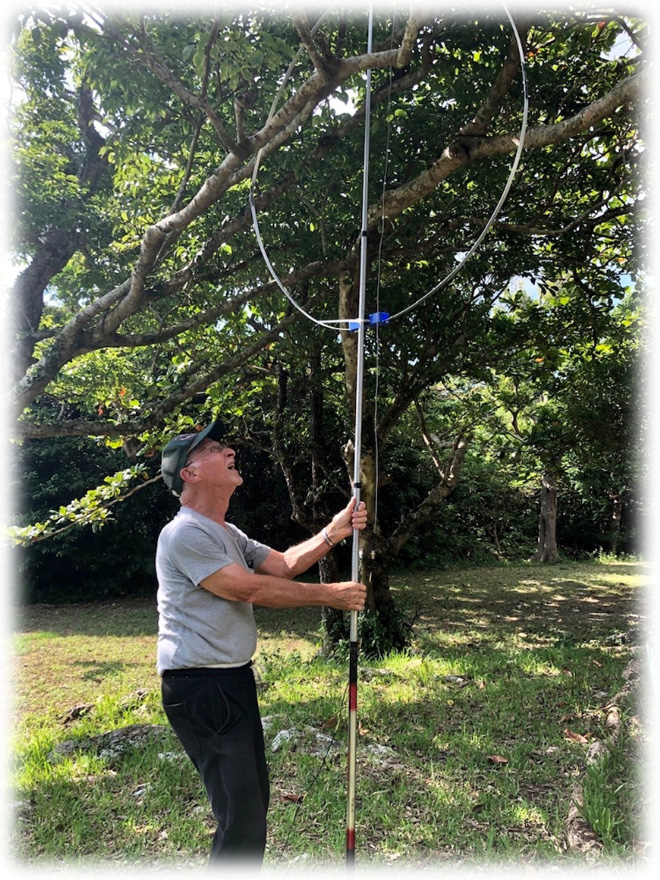
My daughter and XYL accompanied me to Itokazu jo to help and to enjoy the late afternoon scenery. A family friend who lives nearby just happened to phone up and came over for a long chat, while daughter took photos.

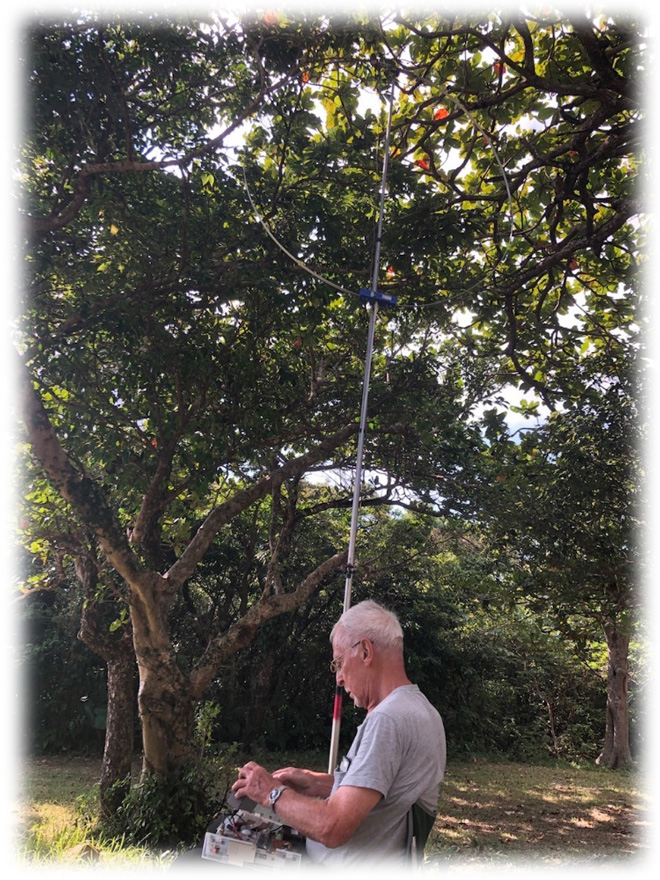
I finally got to try out the antenna.
I started out on 20 meters with a KD1JV Tribander, where a Taiwan and a mainland JA quickly answered my CQ, and then I fired up the QCX on 40 meters. Tuning was quick and easy again, and I made two more mainland contacts. A troupe of tourists came past while I was on the air and were surprised to hear Morse code, and see that our hobby still exists. By now we were in a bit of a hurry to get home, but I was very pleased that the first JACOTA trial went so well. I am looking forward to using it again at other JACOTA sites.
I especially enjoy building with recycled and bargain parts. I hope to write articles for the FB News web magazine about my DIY projects, in the future, and hope you enjoy them.
Japan Castles On The Air (JACOTA) backnumber
- Castle 11. Amagasaki Castle....Covid steps in and disrupts operation
- Castle 10. Yamato Koriyama castle
- Castle 9. Sumoto castle
- Castle 8. Sasayama castle
- Castle 7. Itokazu castle A magloop antenna at an Okinawan castle
- Castle 6. Izushi castle ... Defeated by the Weather and Covid
- Castle 5. Ikeda castle
- Go Pouch for JACOTA Operations
- Compact/Light weight Tripod for JACOTA Operations
- Castle 4. Shoryuji castle
- Castle 3. Tanabe castle
- Planning and Preparation for a JACOTA Castle visit
- Castle 2. Fukuchiyama castle (Kyoto Japan)
- Castle 1.Sonobe castle